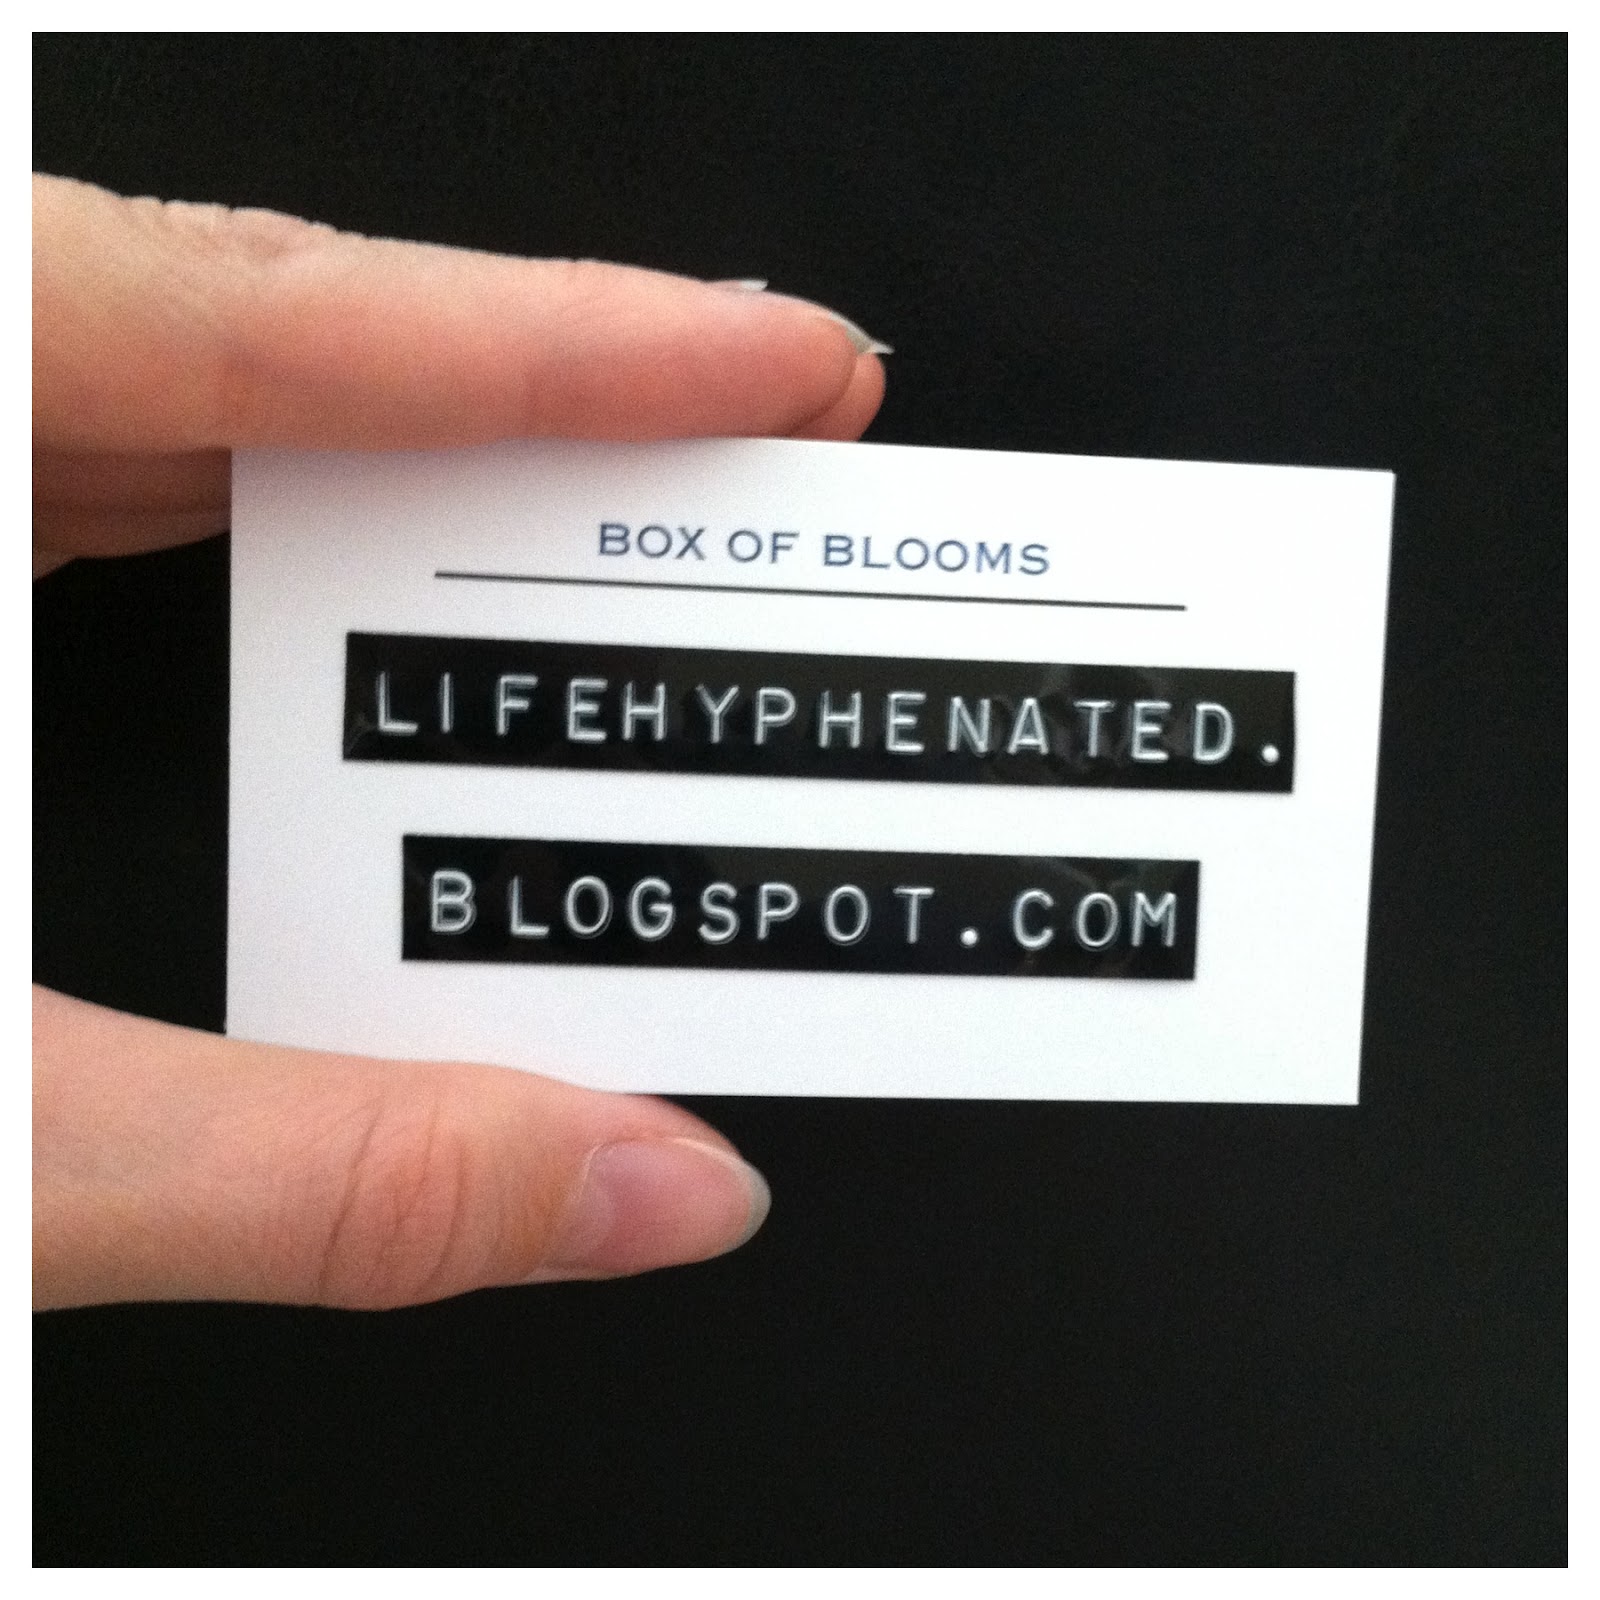
Check out The H-G's at their new website:
www.TugboatYarning.com
See you there!
~M, B, & Q H-G
Showing posts with label Tugboat Yarning. Show all posts
Monday, January 21, 2013
Tuesday, November 20, 2012
The Thankful Cowl
I am sorry to say, but I don't think I've written this before:
I am so thankful for YOU.
I've been more than surprised when people have come up to me and said, "I love your blog", to which I turn behind me to see if a more qualified blogger is peering over my shoulder. My blog? Little ol' me? I've had people quote things back to me, or laugh with me as I recount writing about a specific post. Or even better, it has inspired others to share their stories with me; something that makes me feel like there is one big community out there that just wants to hang out and be friends. Very cool.
So for today, with the approach of Thanksgiving, I'd like to tell you THANK YOU, from the very bottom of my heart. This community of joy and love - that has been there even when joy and love seemed out of reach - has made this blog possible.
This post is not meant to toot my own horn, but to trumpet from the rooftops that YOU are AWESOME.
With all this mushy gushy stuff in mind, I wanted to "gift" you a simple crochet pattern. I realize not everyone out there crochets, but if it brings a bit of love and warmth to you, then it has done its job. I call it, simply enough, The Thankful Infinity Cowl.
Please enjoy, and know that YOU - yes, you who are taking the time to read my strange musings and give me encouragement in the things I write about; you who have known me forever or just by reading this post; you who have written comments, liked things on Facebook, or have encouraged me in person; you who related to my struggles and my joys; you who came back a second time to read - you, are such a blessing to me.
-------
Materials
- Worsted Weight Yarn
- Crochet Hook Size Q
- Darning Needle (for weaving in ends)
Abbreviations
- r = row
- ch = chain
- sc = single crochet
- dc = double crochet
- st = stitch
- sl st = slip stitch
Sizing
Listed are instructions for small, medium, and large based on the number of chains that are added in the beginning. So, for a smaller size (think teenager or a thin-necked adult) chain 50, for a medium chain 55, and for a large chain 60.
Directions
R1: Using two strands at once, ch 50 for small, 55 for medium, or 60 for
large, sl st to first ch. (note: be
careful not to twist the chain at all!)
R2: sc in same st as sl st from round 1, sc in ea
st around using only the top loops.
R3 –
R7: ch 2, dc in ea sti around, sl st to
join.
R8: ch 1, sc in ea st around, sl st to join. finish and weave in ends.
My only guideline for using this pattern is that you make it for someone in whom you are THANKFUL. If that means you are thankful for your customers at a craft show or your Etsy shop, then by all means sell it! I ask that you please reference this site when using the pattern, and let the receiver know that it was made in a mindset of thanks and love.
-------
A quick shout out to my amazing husband, Brad, for whom I am also so very thankful. And of course, my sweet baby boy, Quincy.
And to YOU: Thanks again, friends. You mean the world to me.
Monday, November 19, 2012
The Brag Board {Tugboat Yarning}
I'll keep the words short and the photos big for the Brag Board. Check out these adorable kids and their Tugboat Yarning gear!
![]() |
| Baby Emilia - Magenta Baby Cocoon |
![]() |
| Baby Judah - Grey & Teal Newsie Hat |
![]() |
| Baby Judah - Navy & Orange Dino Hat |
![]() |
| Baby Ahren - Green & Navy Dinosaur Hat |
![]() |
| Baby Drake & Big Sister Kierstynn - Blue Newsie Hat with Teal Button |
![]() |
| Baby Isaac - Grey & Blue Newsie Hat with Red Button |
![]() |
| Baby Jonah - Slate Blue & Navy Giraffe |
![]() |
| Zac - Fiery Dragon Hat |
For those of you out there that have a Tugboat Yarning product and would like it featured on the Brag Board, please email photos here.
Now, didn't this post make you smile? There are sure a lot of beautiful kids out there! Thank you to everyone that shared photos!
~M
Monday, October 15, 2012
Behind the Seams: Making The (Baby) Stig Costume
I've recently been posting about the H-G's love of Top Gear UK. (Feel free to read part one, part two, and part three if you need to get caught up!) Here's how I made the costume, though please take note: this is just a costume inspired by The Stig, but is in no way endorsed by Top Gear UK.
1. Start with an Adorable Baby:
I found the above baby at home, so there was no need to go out to the store to find one. Convenient, right?
2. Add White Pants, Socks, & Shoes:
Who says you have to buy a full costume, all put together from the store? Well, actually that sounds a lot easier than finding or making the components.... uh.... well, what fun would that be? Where's the challenge?!
I lucked out and found these white pants and shoes at a Mom-to-Mom Sale recently, added some socks from the drawer, and the Baby Stig was half-way dressed!
2. Add White Pants, Socks, & Shoes:
Who says you have to buy a full costume, all put together from the store? Well, actually that sounds a lot easier than finding or making the components.... uh.... well, what fun would that be? Where's the challenge?!
![]() |
| White Pants & Shoes |
![]() |
| Baby Stig Shoes |
I lucked out and found these white pants and shoes at a Mom-to-Mom Sale recently, added some socks from the drawer, and the Baby Stig was half-way dressed!
3. Have a Date Night with Heat'n Bond®, an Embroidering Sewing Machine, & an Iron
Using my new sewing machine, I embroidered a patch that read, "I AM THE BABY STIG" using black thread and white fabric. If you do not have access to a sewing machine that can embroider, or don't want to pay someone to do it, you can always go the classic route of using HELLO MY NAME IS name tags and fill in the blank with Baby Stig/Stigette.
![]() |
| Shoulder Accent Pieces & Baby Stig Name Patch |
Using scrap black fabric (I used leftovers from the wedding ties I made), and an amazing thing called Heat'n Bond, an iron on adhesive, I made and attached shoulder accent pieces to a white sweatshirt I bought online.
I used additional Heat'n Bond to attach the name patch, then sewed around the shoulder pieces and name patch for good measure (don't want them peeling off while racing around the Top Gear track). If wanting to make a Baby Stigette, you could always use a pink sweatshirt, or something else that is über girlie.
4. Crochet the Baby Stig "Helmet":
No, this is not an approved helmet that will protect your Baby Stig's little noggin (read: this is not meant to be warn as a protective helmet, though it may keep their ears warm on a chilly Halloween night!) Instead, it is a beanie hat with an added strap and visor.
If you'd like to use my Baby Race Car Driver Crochet Hat pattern, you can purchase it through my Etsy Shop, Tugboat Yarning, here!
5. Dress Baby in Gear:
This is harder than it looks, but all it takes is patience and a little finagling, and you've got your very own Baby Stig!
Got any fun costumes you've thrown together? Or remember any goofy ones your parents put together for you when you were a kid? Share below in the costumes!
~ M (aka Mini Stig's Mom)
Tuesday, September 18, 2012
I Finally Felt Like Felting
I am not a patient person. In fact, I started writing this post, hoping to have some kind of creative opening about time-saving ridiculous things I do, or how to multi-task, but I grew impatient as I kept stumbling around and couldn't find the right words. Instead, I'm just going for a dive-right-in kind of post. HiHowAreYouLet'sGetGoing!
I have never crocheted or knit a blanket, or sweater, or socks. They take way too much time and/or concentration. It's not worth it to me. Why make one big, glorious afghan when you can make a gazillion adorable hats? Well, the same itchy feeling that I get from taking on two big of a knitting project can also crawl on my skin when thinking about Felting (also referred to as Wet Felting). Ever heard of it? Using wool yarn, you knit or crochet a larger scaled project, then toss it in the washing machine on the hot cycle, and shrink it down. In that shrinking process, it creates a thicker, fuller product great for bags, purses, clogs, etc. So why haven't I jumped into the felting fiesta yet?
For starters, you generally have to make it THREE TIMES THE SIZE as what the final project will be. Meaning: you waste three times the time, only to have an end product one-third the size of your original effort. Let the skin crawling commence. I couldn't get my(impatient)self to devote more time into making something big, only to get something much smaller. But, I must admit, the felting process intrigued me. After weighing the time factor against the this-could-be-fun factor, I finally decided to give felting a fighting chance.
I chose a small project, found through Lion Brand's website, to create a small holder for my crochet hooks, though the original pattern was intended to be a pencil holder.
I purchased a few skeins of 100% wool yarn, and began knitting. And I knitted some more. And took breaks. And knitted even more. I worked on knitting row after row over a period of a month - to which I should add I got bored, and picked up other projects, and then came crawling back - and had this final rectangle:
Next, I tossed it in the washer to shrink it down.
And then I washed it again. And yet a third time. And then I realized I had screwed up. Because I had felted just a rectangle, not a pocketed hook holder.
Apparently, you're supposed to sew up the pockets before you felt the project. But I was impatient. And didn't want to wait. So why would I wait? Realizing my mistake, I improvised by loosely stitching up the sides to create the portion for the hooks. But then it looked more like a clutch to me, so I made one pocket to fit a phone, and added a braided loop as a button hole.
Back into the hot waters of the washing machine it went, and out came a very fuzzy clutch. I picked and groomed my way through, and after a large glob of fuzz, I had a trim clutch that just needed some final touches.
I sewed on a funky button (I've had my eye on this very button for a while, and this clutch seemed worthy of such a stellar piece), cut off the scraggly button loop (due to the felting process, my once pretty little braided loop had become a bit too much beverly-hill-billy-beard-esque for my taste), replaced said button loop with a more simple one, sewed on some decorative features, and now am happy to reveal my final project! I call it the Felt The Love Clutch˚.
Sadly, I have discovered that I'm allergic to wool, or at least have quite the sensitivity to it: scratchy throat, watery eyes, some dramatic sneezes. It is for that reason that I will be putting this item up on my new Etsy shop, as my very first item! Yep, my Etsy shop is called Tugboat Yarning, and you can check it out here! To the person (whoever you may be) that purchases this clutch, I hope you enjoy it! I guess if you're reading this "birth story" of sorts, you'll realize that I had no clue what I was doing but that it turned into a cool design in the end.
Have anything you felt like doing, and finally did?
Impatiently yours,
~M!
I have never crocheted or knit a blanket, or sweater, or socks. They take way too much time and/or concentration. It's not worth it to me. Why make one big, glorious afghan when you can make a gazillion adorable hats? Well, the same itchy feeling that I get from taking on two big of a knitting project can also crawl on my skin when thinking about Felting (also referred to as Wet Felting). Ever heard of it? Using wool yarn, you knit or crochet a larger scaled project, then toss it in the washing machine on the hot cycle, and shrink it down. In that shrinking process, it creates a thicker, fuller product great for bags, purses, clogs, etc. So why haven't I jumped into the felting fiesta yet?
For starters, you generally have to make it THREE TIMES THE SIZE as what the final project will be. Meaning: you waste three times the time, only to have an end product one-third the size of your original effort. Let the skin crawling commence. I couldn't get my(impatient)self to devote more time into making something big, only to get something much smaller. But, I must admit, the felting process intrigued me. After weighing the time factor against the this-could-be-fun factor, I finally decided to give felting a fighting chance.
I chose a small project, found through Lion Brand's website, to create a small holder for my crochet hooks, though the original pattern was intended to be a pencil holder.
I purchased a few skeins of 100% wool yarn, and began knitting. And I knitted some more. And took breaks. And knitted even more. I worked on knitting row after row over a period of a month - to which I should add I got bored, and picked up other projects, and then came crawling back - and had this final rectangle:
![]() |
| Knit Rectangle (Quincy, at 8 months old, was my assistant photographer) |
Next, I tossed it in the washer to shrink it down.
![]() |
| Washer Settings |
And then I washed it again. And yet a third time. And then I realized I had screwed up. Because I had felted just a rectangle, not a pocketed hook holder.
![]() |
| Thrice Felted Rectangle |
Apparently, you're supposed to sew up the pockets before you felt the project. But I was impatient. And didn't want to wait. So why would I wait? Realizing my mistake, I improvised by loosely stitching up the sides to create the portion for the hooks. But then it looked more like a clutch to me, so I made one pocket to fit a phone, and added a braided loop as a button hole.
![]() |
| Improvised Clutch |
Back into the hot waters of the washing machine it went, and out came a very fuzzy clutch. I picked and groomed my way through, and after a large glob of fuzz, I had a trim clutch that just needed some final touches.
![]() |
| Felting Lint Fuzz |
![]() |
| Fuzzy Clutch (Post First Grooming) |
I sewed on a funky button (I've had my eye on this very button for a while, and this clutch seemed worthy of such a stellar piece), cut off the scraggly button loop (due to the felting process, my once pretty little braided loop had become a bit too much beverly-hill-billy-beard-esque for my taste), replaced said button loop with a more simple one, sewed on some decorative features, and now am happy to reveal my final project! I call it the Felt The Love Clutch˚.
˚As in I felt the love put into this clutch. Punny, yes. Can I help it? Sadly, no.
![]() |
| Front View: Small Stitched Heart, Funky Button, Improved Button Loop |
![]() |
| Back View: Large Stitched Heart, He Loves Me/He Loves Me Not Counter |
![]() |
| Inside View: iPhone Pocket, Cash/Card Pocket |
![]() |
| Funky Button Seriously, my favorite button of all time. |
![]() |
| Small Stitched Heart For a little bit of love... |
![]() |
| Large Stitched Heart For more love (you can never get enough love!) |
Sadly, I have discovered that I'm allergic to wool, or at least have quite the sensitivity to it: scratchy throat, watery eyes, some dramatic sneezes. It is for that reason that I will be putting this item up on my new Etsy shop, as my very first item! Yep, my Etsy shop is called Tugboat Yarning, and you can check it out here! To the person (whoever you may be) that purchases this clutch, I hope you enjoy it! I guess if you're reading this "birth story" of sorts, you'll realize that I had no clue what I was doing but that it turned into a cool design in the end.
Have anything you felt like doing, and finally did?
Impatiently yours,
~M!
Sunday, September 9, 2012
Box of Blooms
Did you receive a package in the mail with a curious card tucked inside?
You may be wondering, What is this? Why was this sent to me? Well, you are holding this curious box in your hands because someone out there LOVES YOU, and
wants to make sure you know that you are loved.
I first began making these boxes as a way to tell
some very important people in my life that they were not forgotten, but instead greatly
appreciated, loved, and remembered. Whether it be in the wake of tragedy,
celebrating a joyous occasion, or just saying hey, a Box of Blooms can go a
long way in making someone know they
are loved.
Each Box of Blooms is uniquely handcrafted: The note is slowly typed out on my late grandfather's typewriter made in 1941; the box is made from repurposed greeting cards, or check boxes, or other quaint boxes that have been brought back to life, repurposed and re-designed just for you.
And, cradling said note, is a bed of crocheted flowers, each bloom a reminder that someone out there is thinking of you.
Want to send
a friend or loved one a Box of Blooms?
Check out Tugboat Yarning’s Etsy shop here! You can submit the message you wish to
include, select the yarn hues for the flowers, and ask for other added
features that may make your Box of Blooms particularly special for the
receiver.
If you've held a Box of Blooms in your hands, pulled off the lid, and gazed inside, I hope it warmed your heart and made you realize just how wonderful and amazing you are.
Spread the love!
~M
Subscribe to:
Posts (Atom)